Real Estate Photography Tips: A Better Phone Shot List for Listings
Real estate photography tips for agents: get rooms ready, make a phone shot list, order the photos, and check the set before it goes live.
By Realtor Marketing Kit by Cosmo Suite · Editorial policy
Published · 8 min read
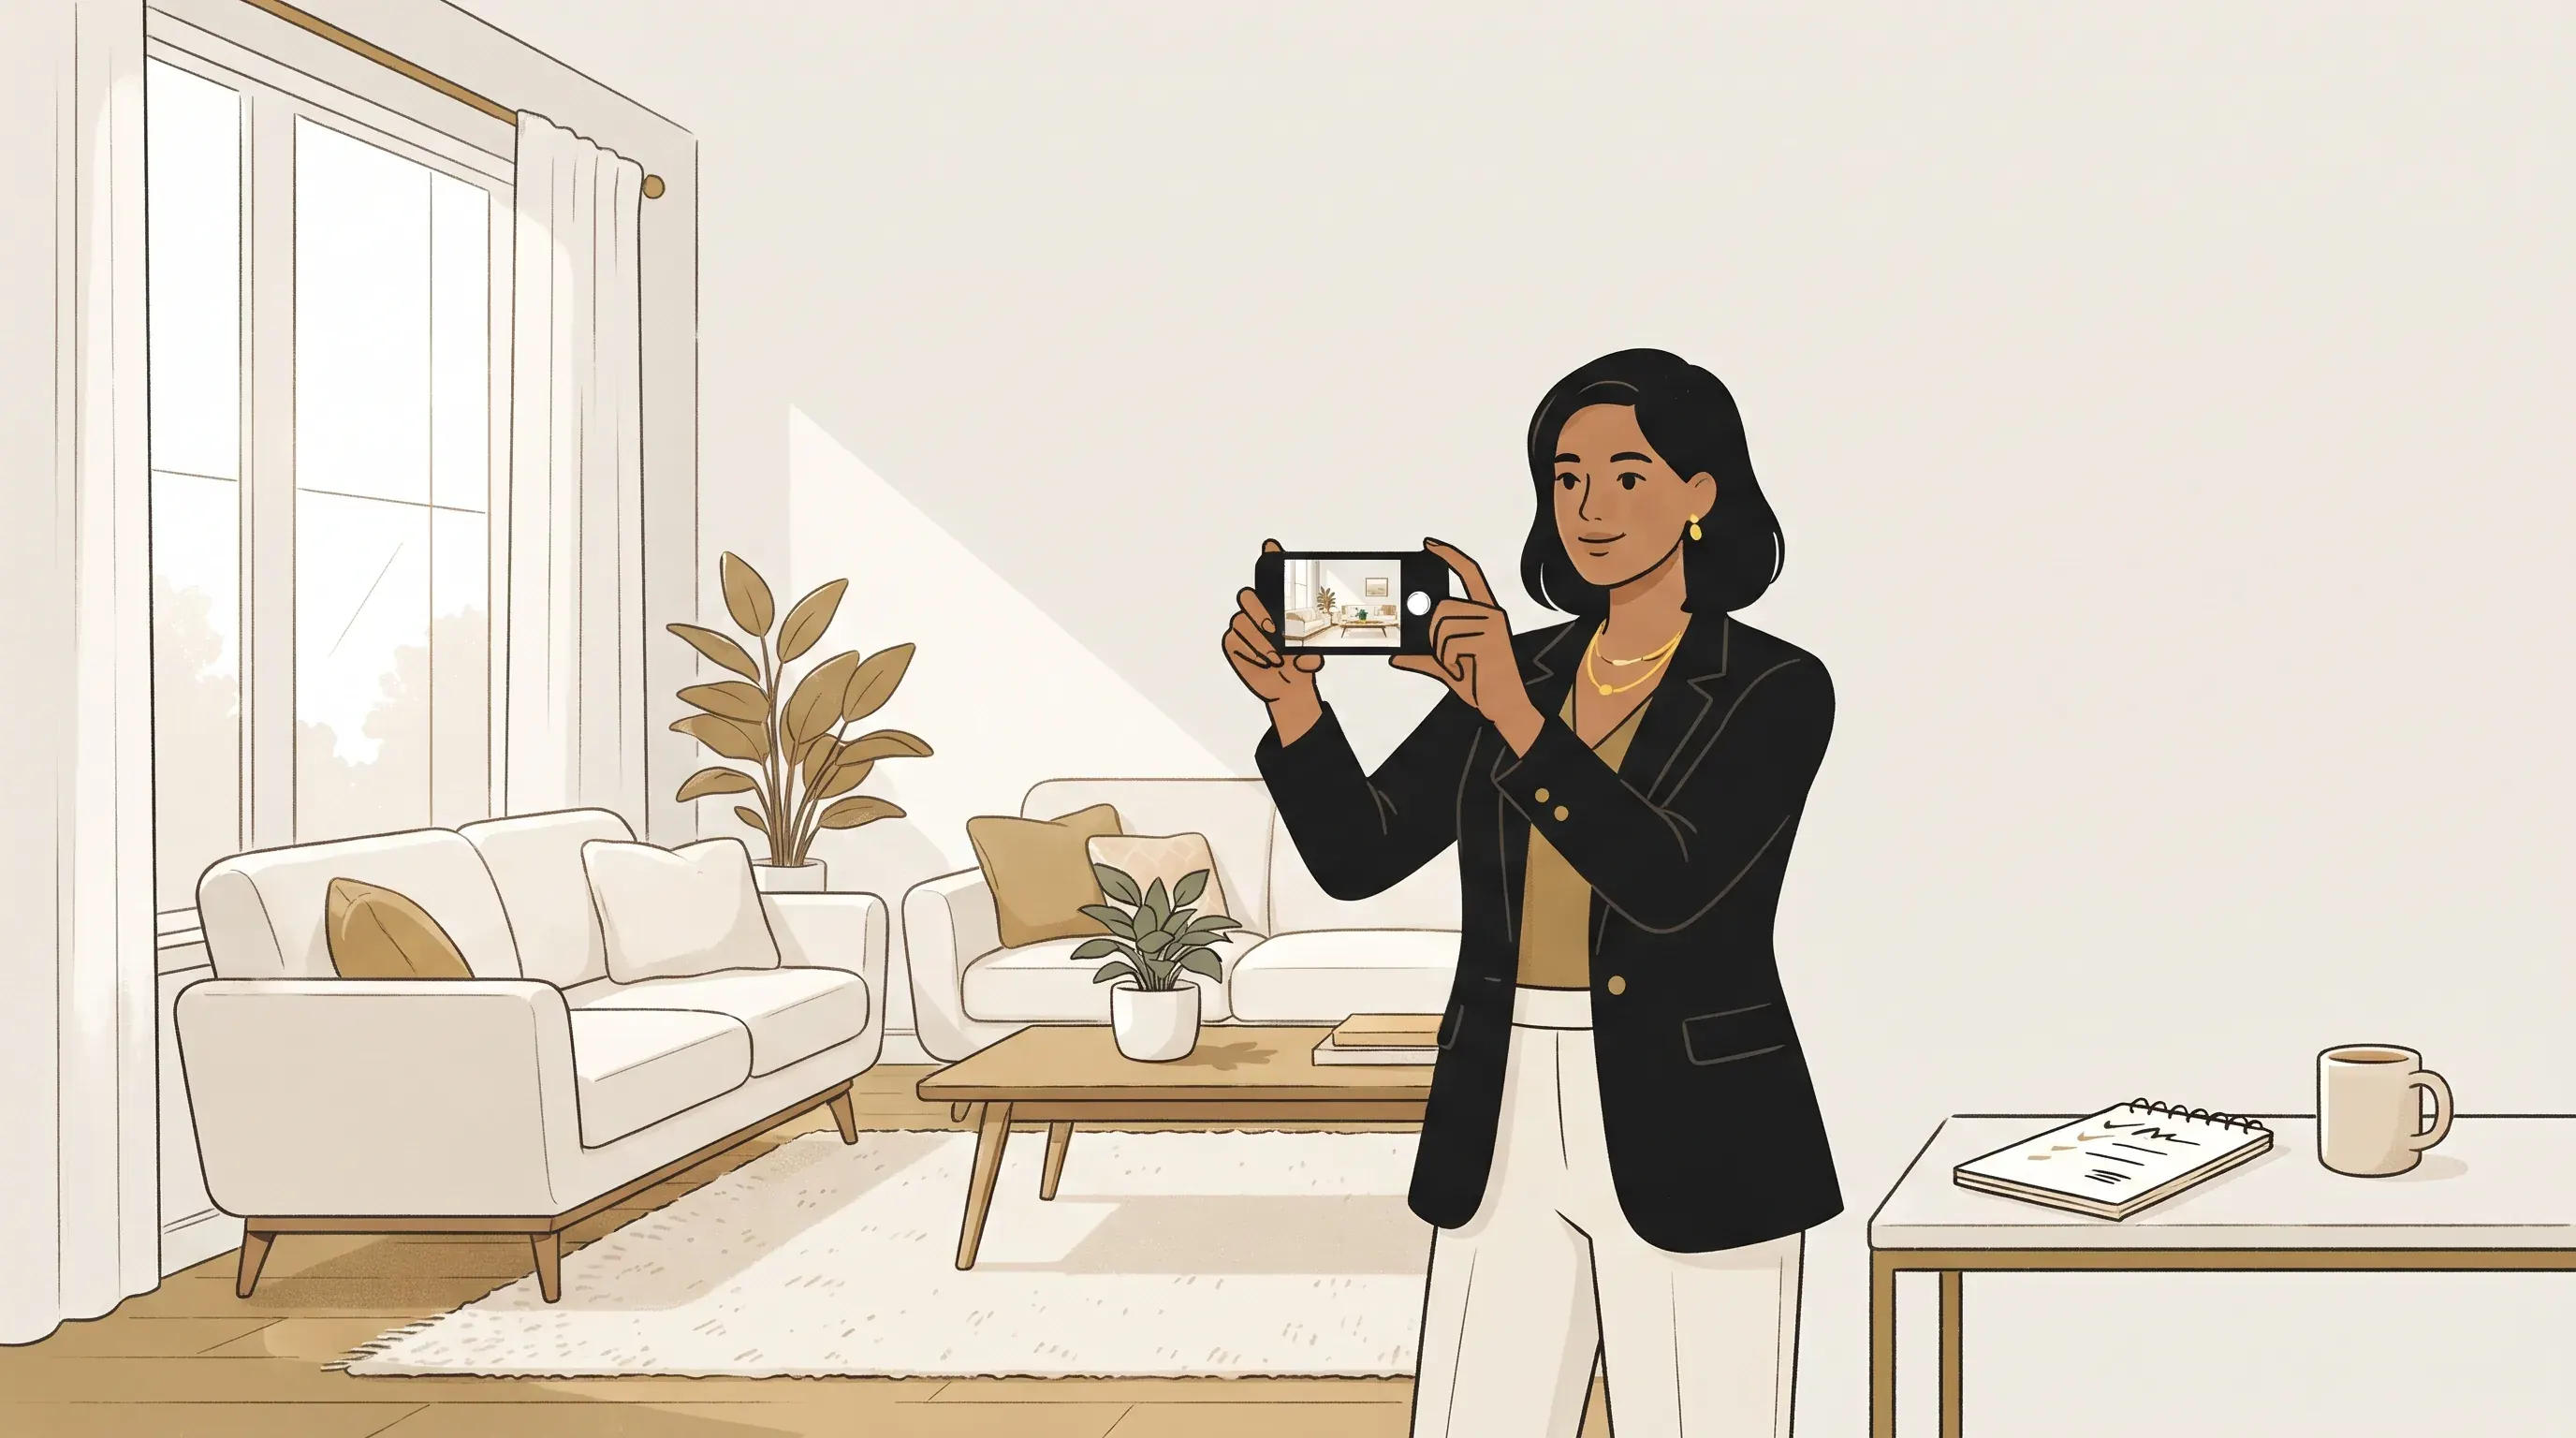
The photographer is coming tomorrow. The counters are clear, but you still need to check which rooms are ready and whether the photos will show how the home connects.
A few phone practice shots can reveal a dark corner, a distracting reflection, or a room that needs another pass. Use them to prepare. They do not replace a professional photographer when the property or seller calls for one.
Use these real estate photography tips to make a shot list, arrange the frames, and review the set before it goes live. The aim is a clear, accurate view of the property. Photos do not guarantee clicks or offers.
The Short Version
- Use phone practice frames to spot preparation issues, not to assume you should replace a professional photographer.
- Give every image one job: context, room, feature, or connection.
- Check the seller's approval, image-use rights, and your local MLS rules before upload.
Listing photography is the planned set of images that helps a viewer understand a property's spaces and features. A lead image is the first photo a viewer sees in the listing. A connection frame shows how one space meets another. These labels make it easier to review the gallery for gaps.
What should listing photos help a buyer understand?
Listing photos should help a viewer understand the property's layout, condition, and useful features without making the home look different from reality. A clean frame can show a room. A thoughtful set also helps someone see how rooms connect.
Start with the buyer's likely questions. Where is the entrance? How does the kitchen relate to the living area? Is there a useful outdoor space? Photos cannot answer every question, but a sequence can reduce avoidable guesswork.
NAR says a camera can make clutter and furniture placement look different on screen. Its photo-preparation guide suggests practice pictures before the photographer arrives (NAR, checked 31 October 2026). A quick review gives you time to fix issues before the appointment.
Once the approved photos are ready, you can plan the launch message too. Editable real estate social post templates cover the announcement, while the property photos remain the source for what the home looks like.
Use this stage-by-stage map of real estate social media posts when you plan what to share after the photo set is approved. Keep the listing's actual photos and the promotional graphics separate. A social design should not stand in for a property image.
Which photos belong on your listing shot list?
Build the shot list around the information a frame adds. The examples below are planning prompts, not a universal room count or MLS requirement. Your photographer, seller, broker, and local MLS may set different needs.
| Frame | Question it helps answer | Review cue |
|---|---|---|
| Front or property context | What is the property and its approach? | Is the view accurate and permitted for this listing? |
| Main shared room | What is the room's shape and purpose? | Can you see the usable space without extreme distortion? |
| Distinctive feature | What detail may matter to this buyer? | Does the frame show the feature clearly and in context? |
| Room connection | How do the shared areas meet? | Does the set make the layout easier to follow? |
| Yard, balcony, or amenity | What usable outside or shared space is included? | Is it part of the property or clearly identified as shared? |
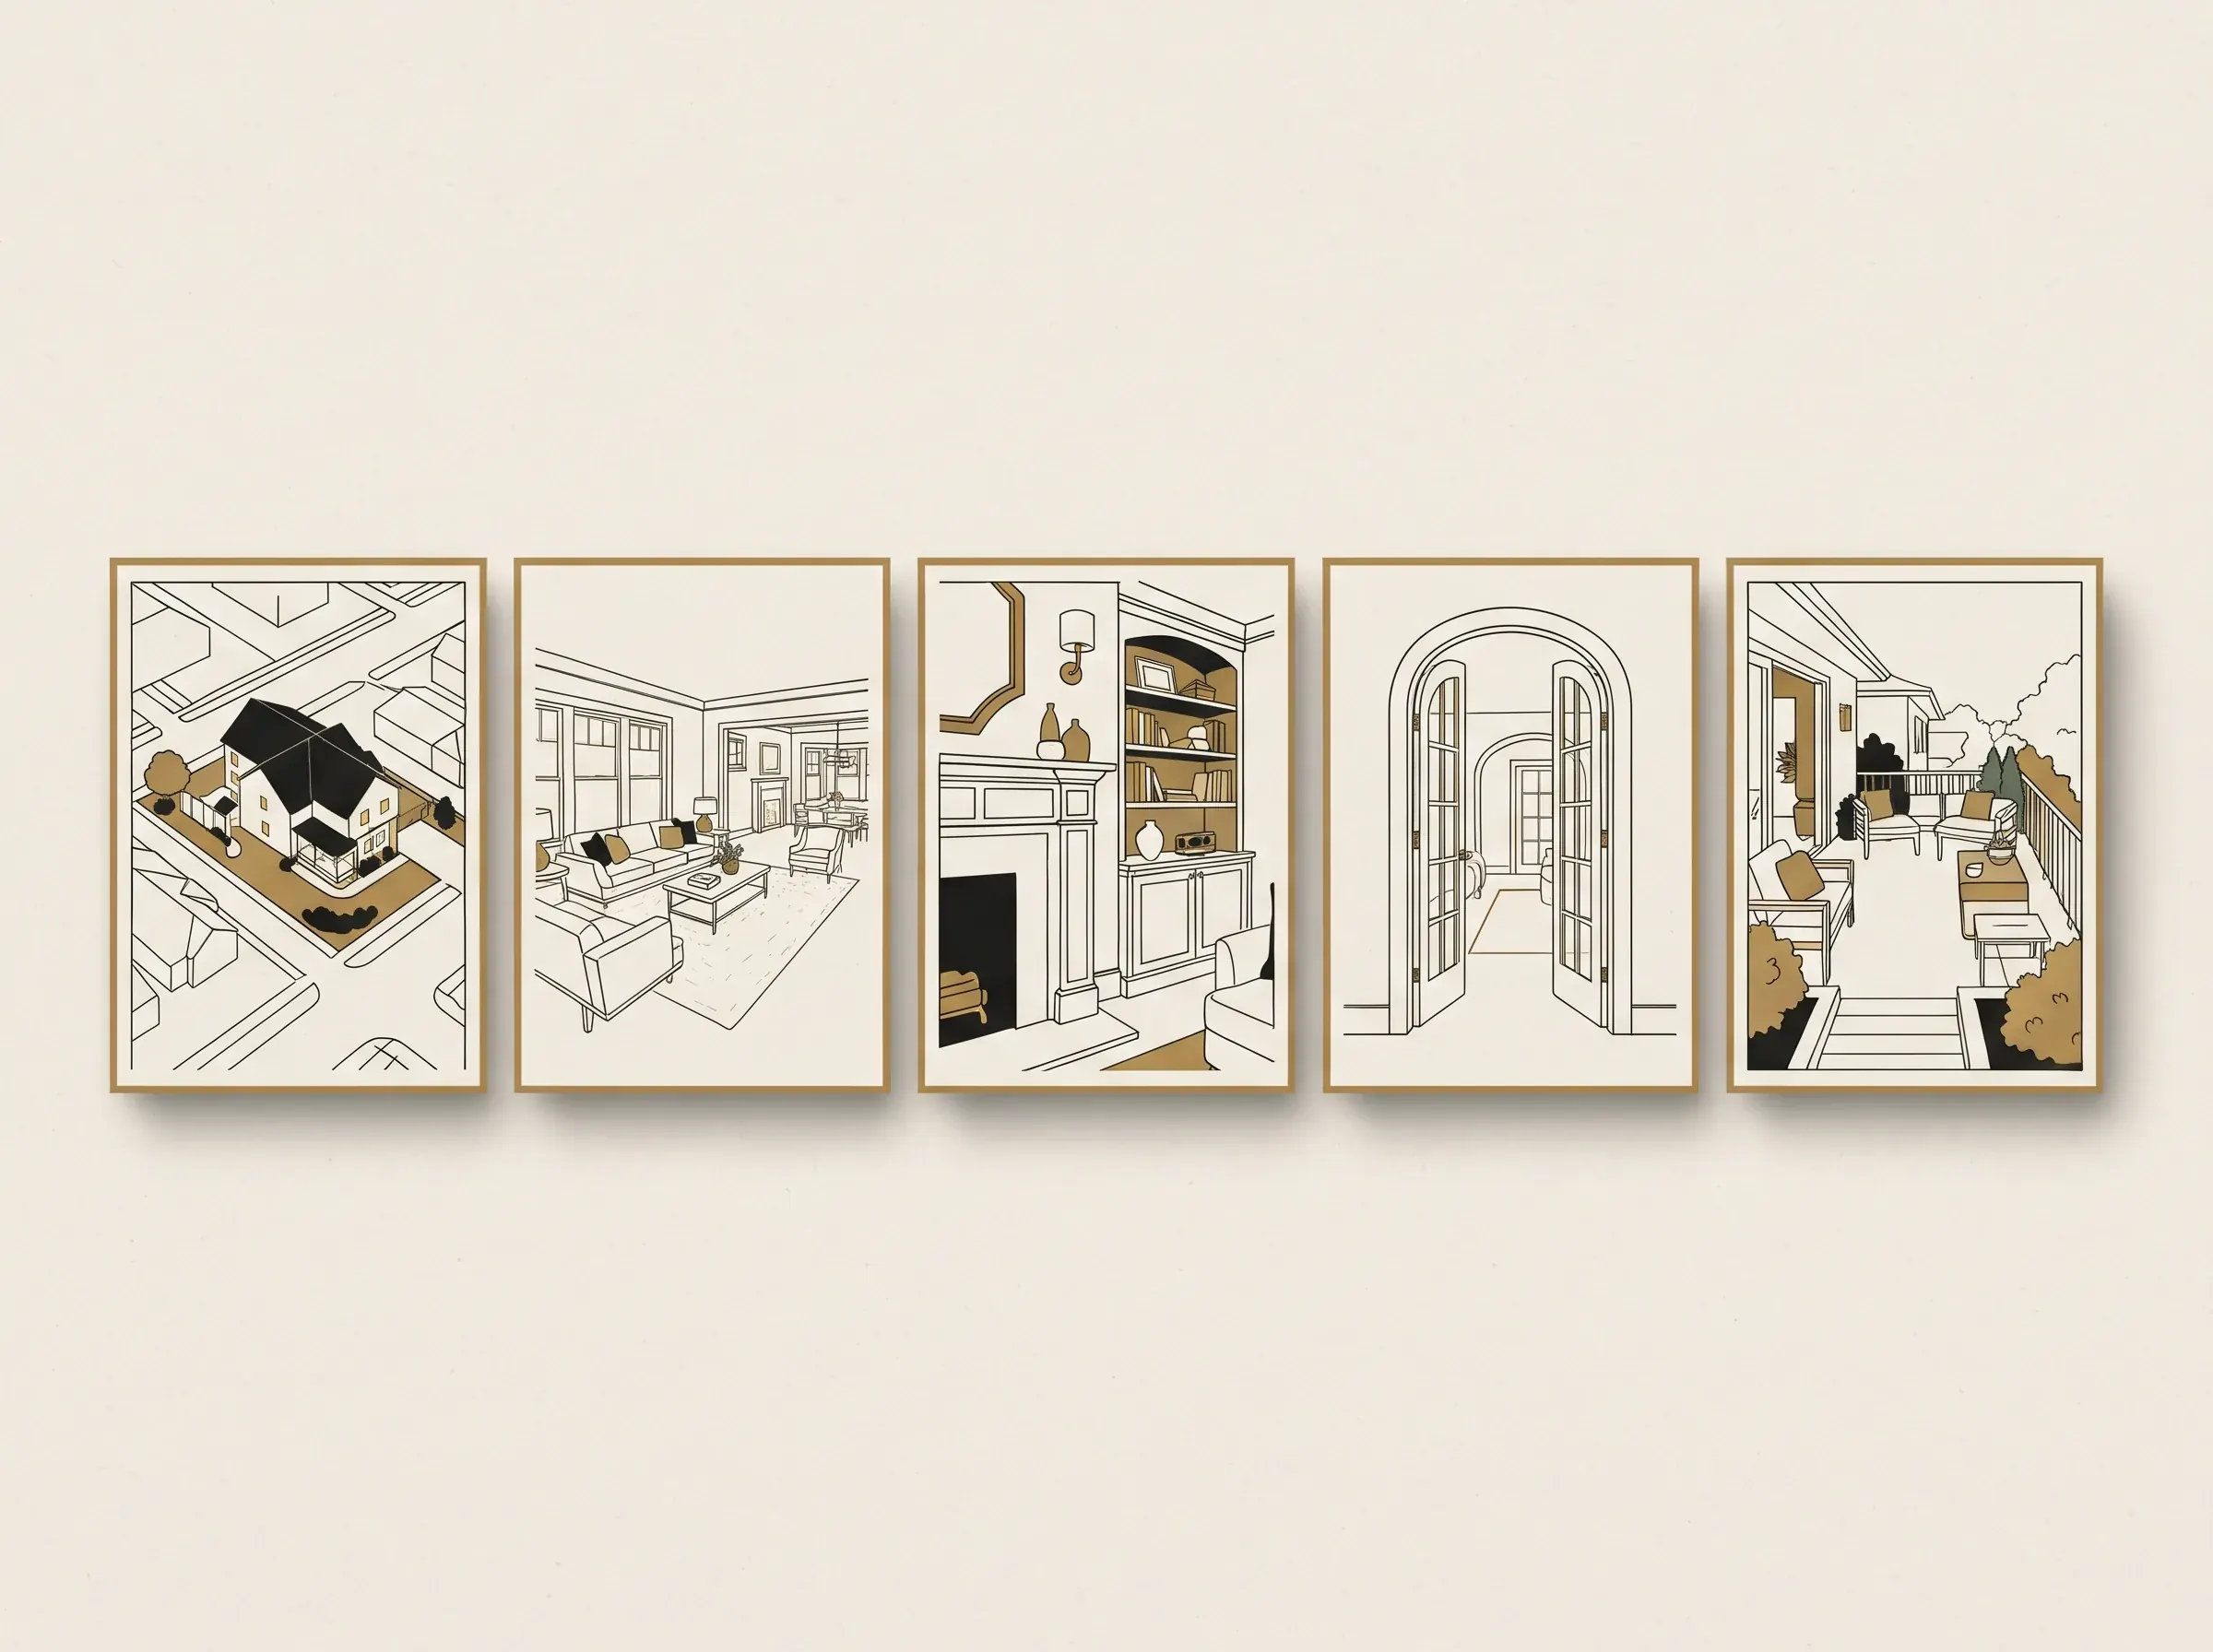
The table does not tell you to photograph every item in every home. A studio, a rural property, and a condominium need different coverage. Use the cues to spot missing information, then tailor the list to the property and local rules.
You can keep the list simple: name the frame, write the question it answers, and check it off after reviewing the photographer's gallery. If two frames answer the same question from nearly the same angle, one may be enough. Keep both only when the second adds a useful detail.
How do you prepare a home and phone before the shoot?
Prepare the rooms before you think about camera settings. Ask the seller to clear distracting items, make beds, clean visible surfaces, and move only belongings they have approved for moving. Take a quick walk from the entry through the shared spaces. A small item left in the main sightline can become the first thing a viewer notices.
NAR's photo-preparation guide says practice shots can show what the camera emphasizes. It suggests opening blinds for natural light, removing refrigerator magnets, and reviewing furniture placement (NAR, checked 31 October 2026). Those are ideas, not a requirement to stage every home the same way.
For a phone reference frame, hold the device level and keep vertical lines straight. Step back if the frame feels cramped before choosing an ultra-wide setting. A very wide view can stretch room proportions. NAR's listing photo guidance also advises using wide angles carefully so a small room does not look much larger than it is (NAR, 2024).
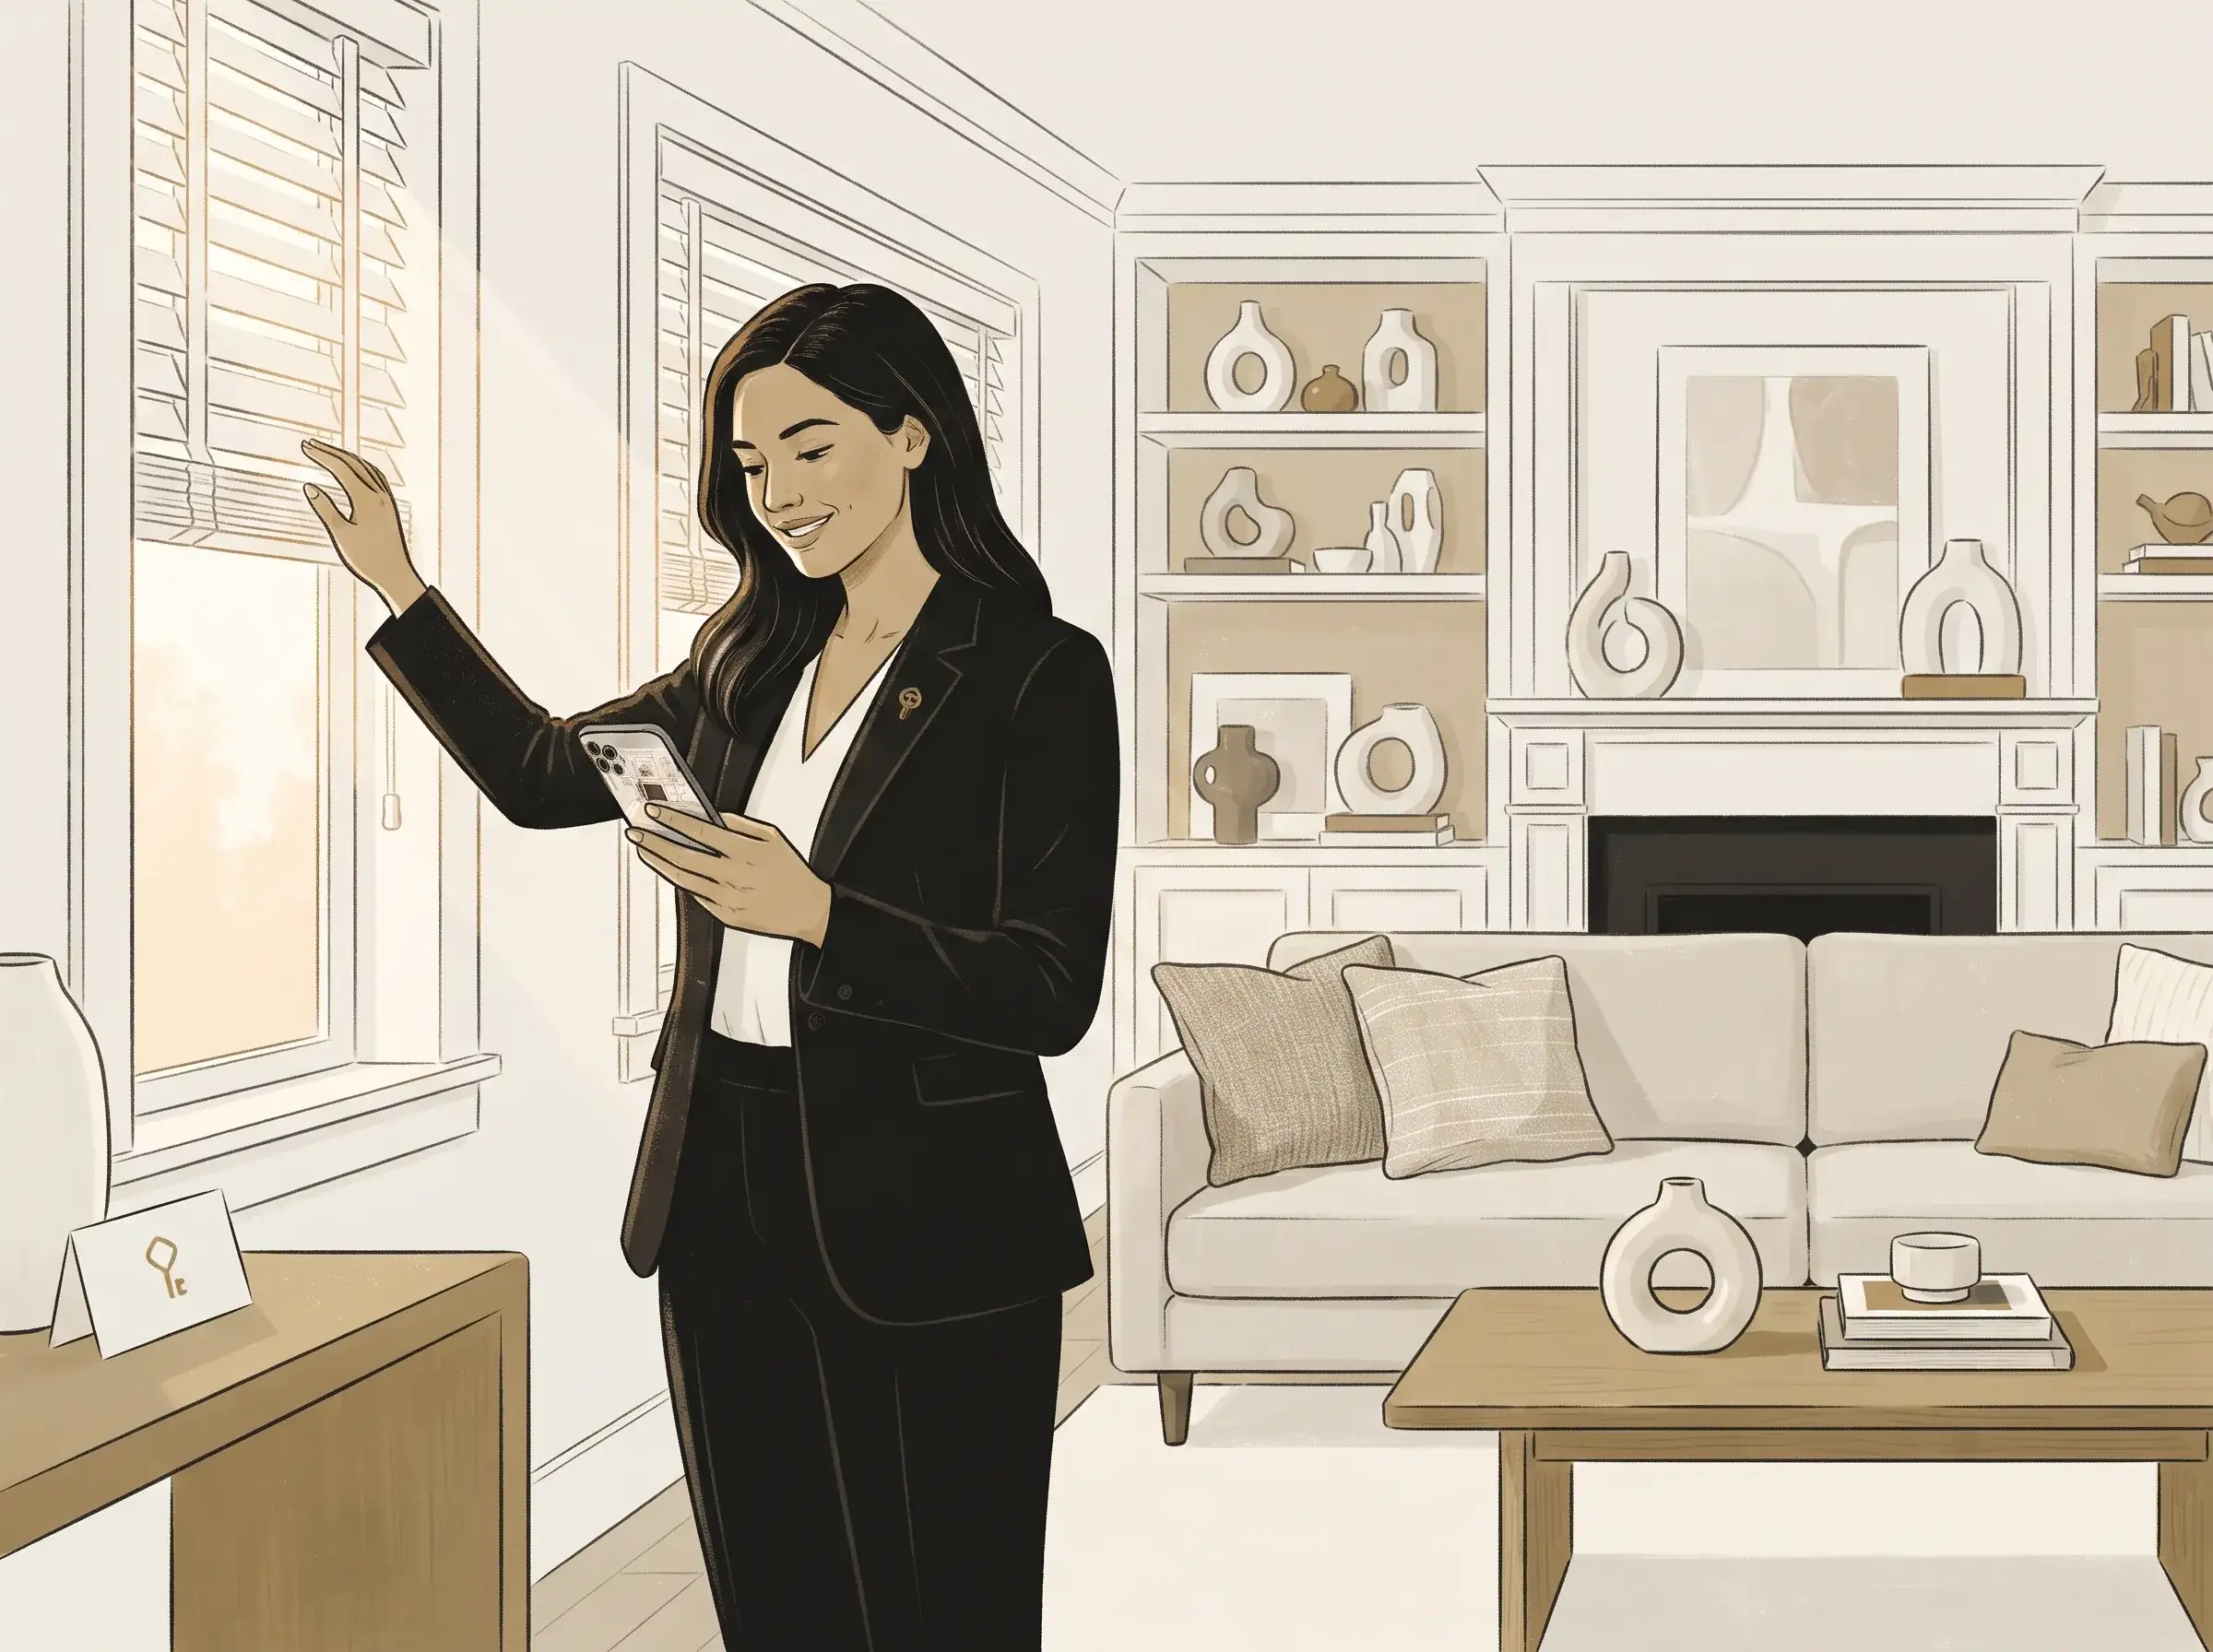
Take one test frame from the doorway and one from another corner only when the second angle adds context. Compare the windows, lamps, and darker parts of the room. If bright windows lose detail or a shadow hides the feature you need to show, ask the photographer how they want to handle it.
Don't spend the appointment trying to copy a photographer's full setup from a phone tutorial. Your job may be to prepare the home, communicate the seller's priorities, and confirm that the final set represents the property accurately. The photographer can guide choices about equipment, lighting, and technique.
How should you order the photo set?
Order the set so that each image gives the viewer a new piece of context. A useful lead frame may be an exterior or a strong interior, depending on the property and the rules for your MLS. After that, make the path through the home easy to follow.
A practical first pass is: property context, main shared space, connected rooms, bedrooms and baths, distinctive features, then outdoor areas. This is a review sequence, not a required formula. A condo listing may need a clear unit entrance and shared amenities. A home with a standout garden may need that space earlier.
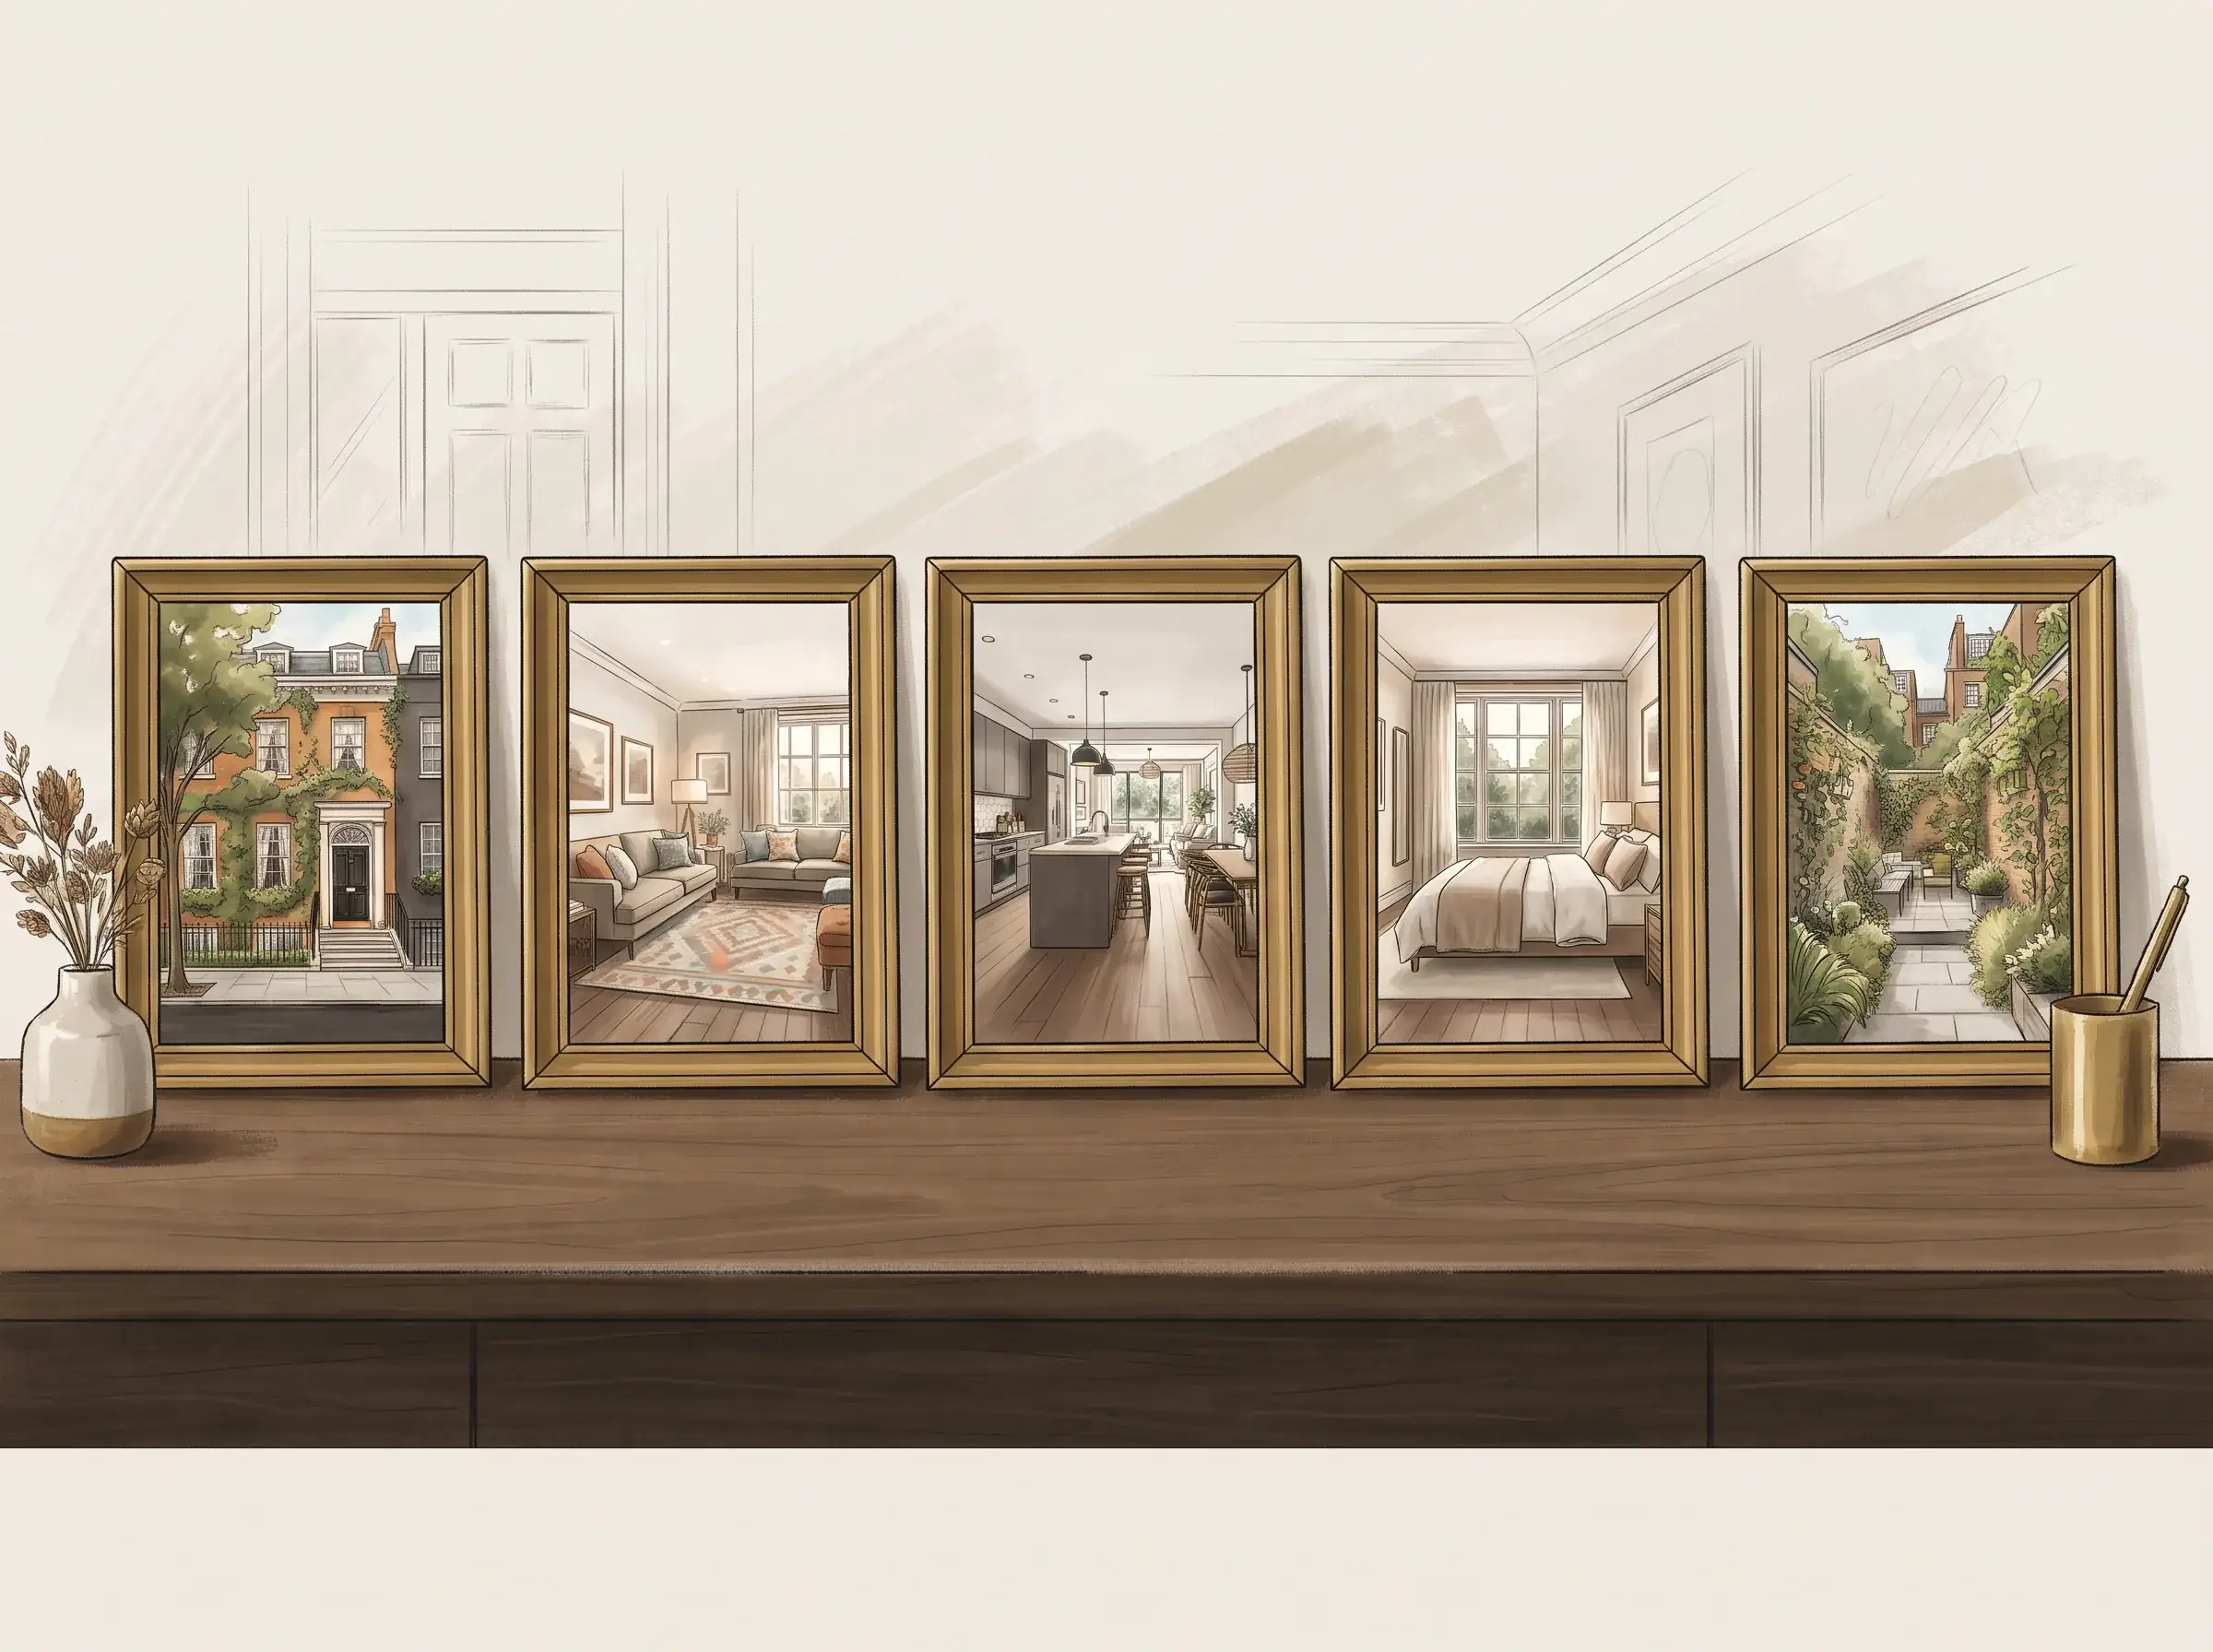
Look for jumps that confuse the viewer. If the kitchen appears, then a bedroom, then the dining space, the viewer may not know where those rooms sit in relation to one another. A view from a connecting doorway can help when it shows a real transition without repeating the prior frame.
Review the lead image on a phone screen as well as a larger display. Make sure the subject is clear at a small size. Then scan the sequence quickly. If every frame feels like a separate room with no sense of movement, see whether a connection shot or a different order makes the set easier to read. For an open house, the before-and-after event plan can help coordinate the property walkthrough.
For the social post that follows a listing launch, this set of just-sold post angles can help you choose a message that fits the property's status. Use only details the seller has approved and that your brokerage permits you to share.
What should you check before photos go live?
Before upload, check the property, permission, and local rules. Confirm that the seller approved the photos, the photographer's usage terms allow the planned distribution, and the images do not show private details the seller asked you to protect.
MLS policies differ. The RealMLS Photographer Toolkit says its submitted media must accurately depict the property and describes specific requirements for enhanced and virtually staged images. Those requirements apply to RealMLS. They are not a rule for every MLS.
Review the rules for your own MLS and ask your broker if a photo has been altered, virtually staged, or includes a feature that is not part of the property. Don't add or remove a permanent feature to make a room look different. If the photographer supplies an edited image, ask what changed when the result is unclear.
Keep a note of who supplied each image and what permission covers it. The U.S. Copyright Office's photography guide explains that a photographer generally owns the photo they take, unless an arrangement such as work made for hire applies. Check the specific license or contract before use. A seller's social photo, a prior listing photo, and a photographer's current work may have different usage terms.
What makes a photo set useful rather than repetitive?
A useful photo set gives each frame a job. Sort the gallery into context, room, feature, and connection shots. Then look for duplicate angles, missing areas, and frames that do not help explain the property.
The useful distinction is what each image adds: context, coverage, a feature, or a connection between spaces. This four-part review helps separate a missing view from a repeated angle. It is an editorial check, not a claim about listing results.
Methodology: Each frame gets one of four roles: property context, room coverage, a distinct feature, or a connection between spaces. The review flags missing roles and repeated ones. It does not rate the photographer or predict listing performance.
Try this four-question review:
- Context: Can a viewer tell what property or space the lead image shows?
- Coverage: Are the rooms and features promised in the listing represented?
- Connection: Can a viewer follow the main shared spaces without guessing?
- Accuracy: Does each image match the property's current condition and the applicable MLS rules?
This is an editorial check, not a score that predicts listing performance. If one question has no answer, ask whether another approved photo exists or whether the current set is complete for this property. If a frame repeats an earlier one, keep it only when it shows a meaningful difference.
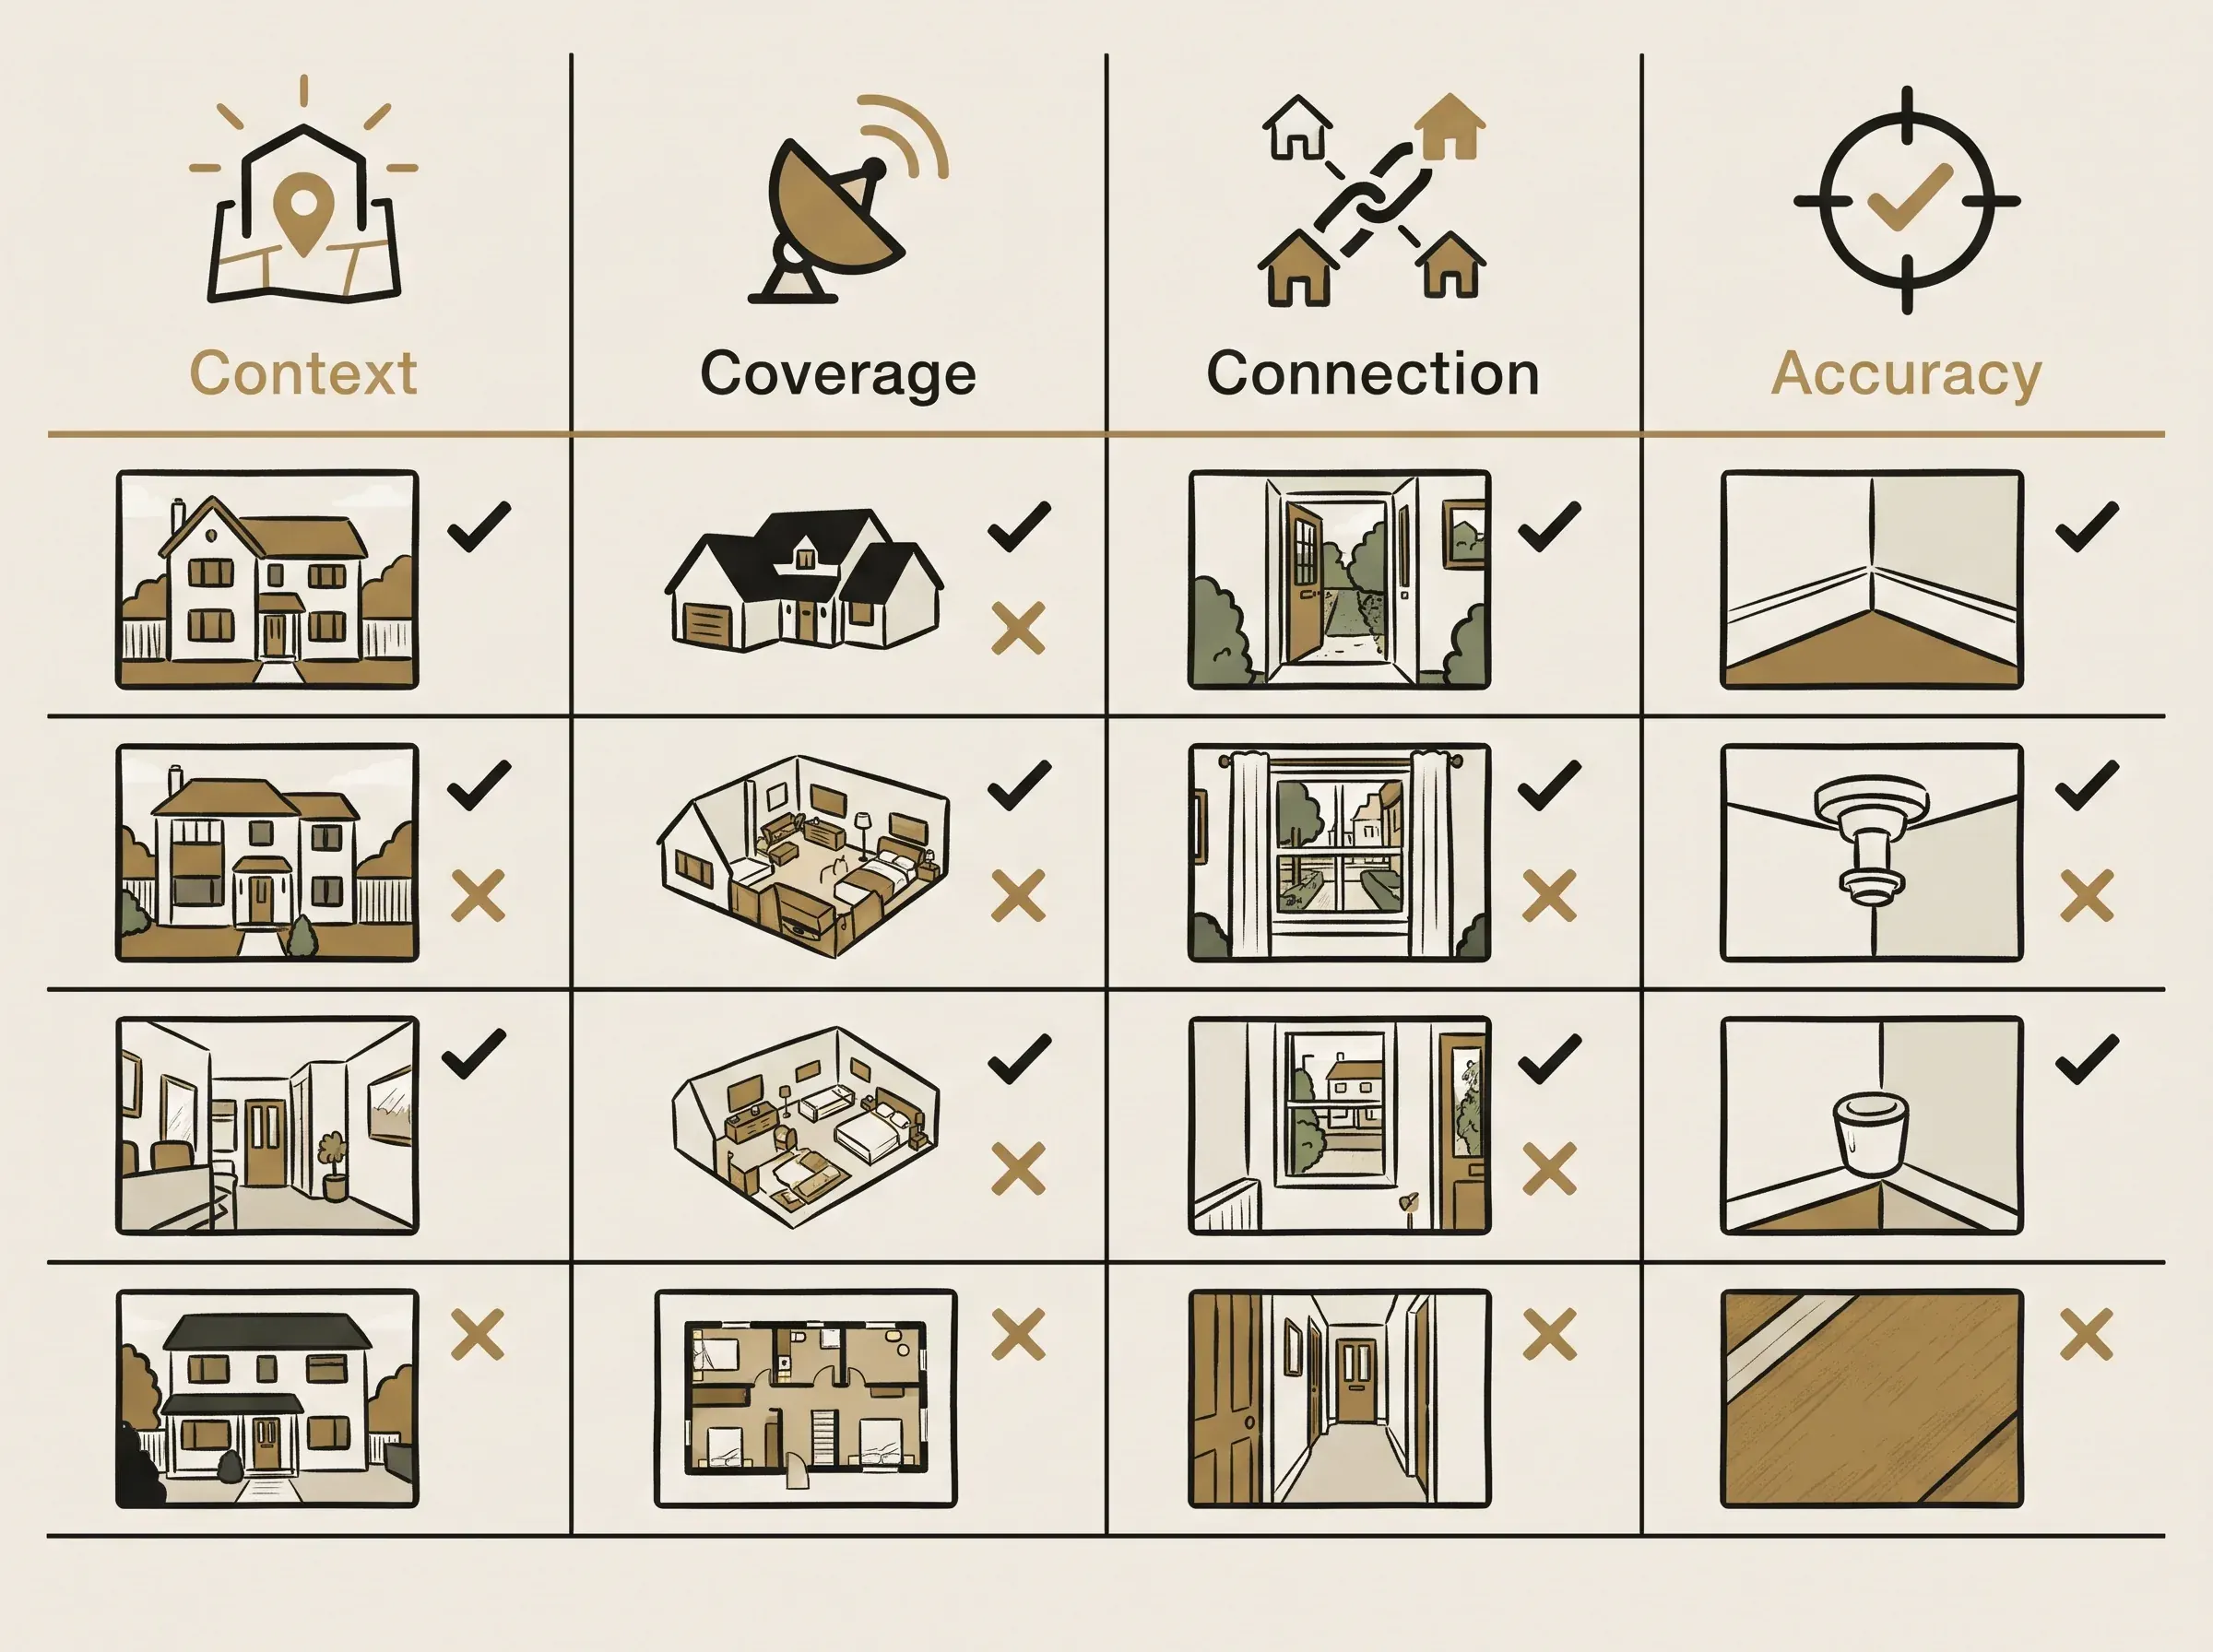
The aim is not to fill a gallery with as many images as possible. The aim is to let each image clarify something. A tighter, well-ordered set can be easier to review and share than a long run of near-identical frames, though the right number depends on the property and platform.
Why Trust This Article
The Cosmo Suite team that made Realtor Marketing Kit prepared this guide for working real estate agents. We checked the National Association of REALTORS®' photo preparation and composition guidance and the RealMLS photographer toolkit on 31 October 2026. Read about us and our editorial policy for publisher and content details. We do not provide photography, legal, or MLS-compliance services. Confirm local requirements with your broker and MLS.
Where Realtor Marketing Kit Fits
Realtor Marketing Kit is for the marketing materials around a listing. Its published contents include social post templates, stories, buyer and seller guides, and an email marketing template kit. It does not take, edit, host, or schedule property photos.
If you want editable materials to announce a listing after your images are ready, Realtor Marketing Kit's Canva templates for listing posts are designed for that separate task. The templates can be edited in a free Canva account, according to the product's landing page. You still choose the property photos and confirm what you can publish.
A repeatable photo review and a ready-to-edit post solve different parts of the listing workflow. Keep the photos accurate, follow the seller and broker's instructions, and use a marketing design only after the image set is approved.
Frequently asked questions
Can I take real estate listing photos with my phone?
A phone helps you make practice frames, check a room's light, and plan a sequence. Whether those photos can go in the listing depends on the property, seller and broker instructions, your MLS rules, and the quality the listing needs. Ask a professional photographer when the property calls for one.
What should I remove before listing photos?
Clear items that distract from the room or hide how it is used. That may mean counter clutter, refrigerator magnets, personal photos, or furniture that blocks movement. Ask the seller before moving belongings. Leave anything that affects safety or access in place.
What order should listing photos go in?
Homes need different sequences. Start with a clear lead photo that represents the property, then arrange the frames so viewers can follow the shared spaces, rooms, and useful features. Check your MLS rules for a required lead photo or coverage.
Should every light be on for listing photos?
Not always. NAR recommends checking the room's light and avoiding washed-out photos. Different bulbs can create mixed color. Test a frame, compare it, and follow the photographer's direction for the home.
Can I edit listing photos before uploading them?
Check your MLS and brokerage rules first. RealMLS says submitted media must depict the property accurately and sets conditions for enhanced or virtually staged images. Those rules apply to RealMLS. Confirm the policy for your listing.
